- Method 1 – Microsoft Tool for Supported Hardware
- Method 2 – Rufus Tool for Supported/Unsupported Hardware
- Method 3 – Install.esd for Unsupported Hardware
- Summary
This tutorial provides a step by step details for how to create bootable USB for Windows 11 installation media. This bootable USB drive will used to to upgrade or install Windows 11. Full details with screenshots will be provided below with clear instructions.
Method 1 :
Microsoft Tool – Supported Hardware
This is the standard method to create a bootable USB media for Windows 11. The Windows 11 installation media creation tool is downloadable from Microsoft website. This method only supports UEFI bios systems. If you have an older computer you need to create the bootable media using the Rufus method described in the next section. Below is a step by step instructions for creating bootable usb Windows 11 with full screenshots for the whole process.
STEPS:
1. Proceed to the following Microsoft website link to download the media creation tool for Windows 11.
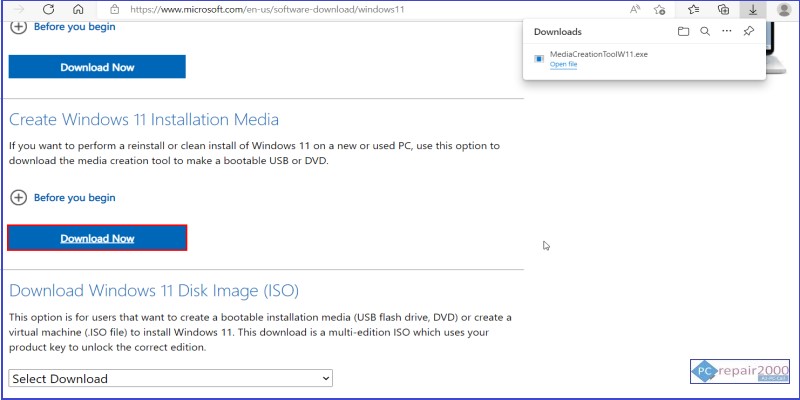
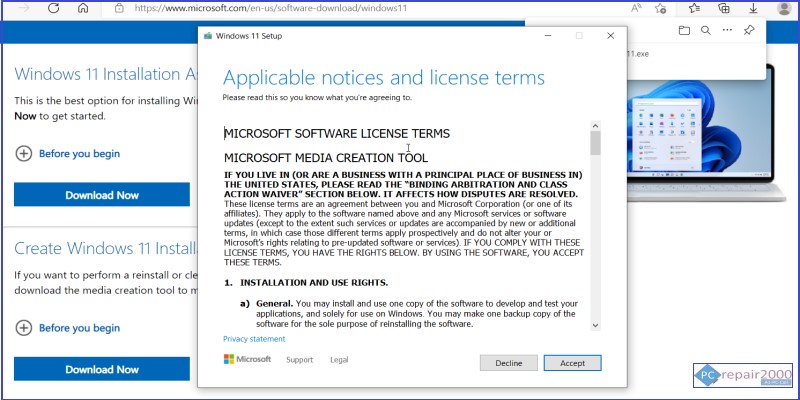
2. Run the downloaded file for media creation tool for windows 11 and accept the terms and conditions.
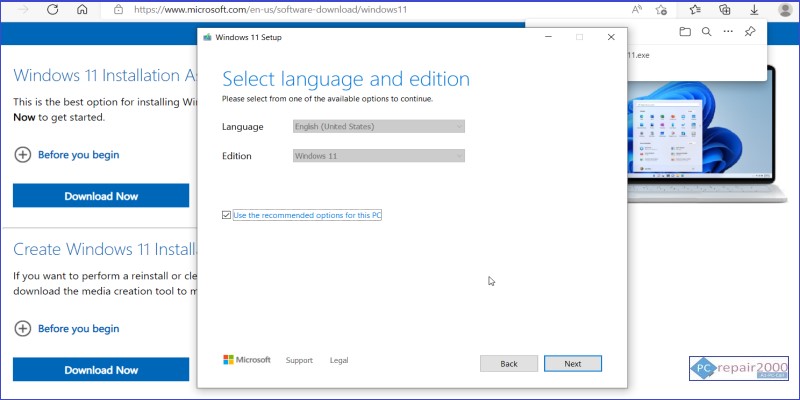
3. Select language and edition of windows 11 to download.
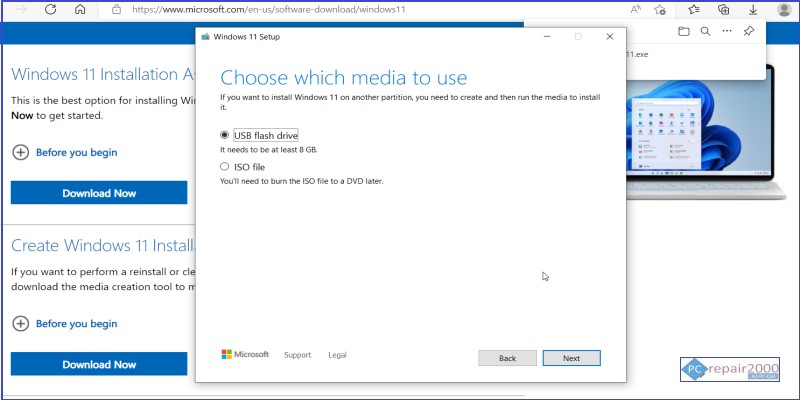
4. Select the installation media type, in this case it is bootable USB drive. Select ISO file if you wish to save the file for later use on a different media and a different PC.
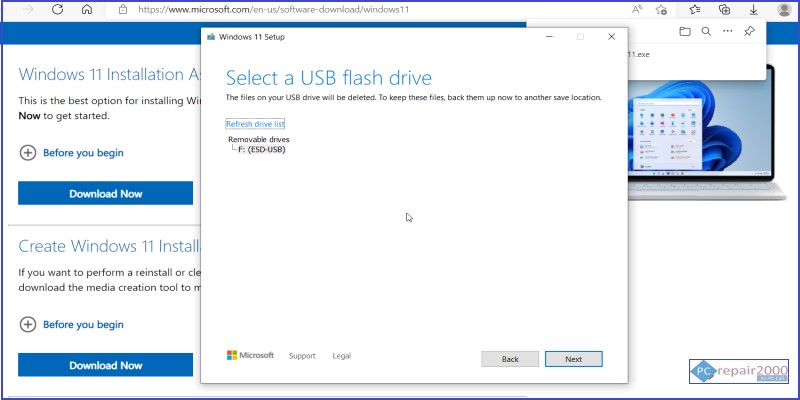
5. Select a USB drive that you would like to use as a bootable installation media for windows 11. If your USB drive is not listed click on refresh drive list then click next.
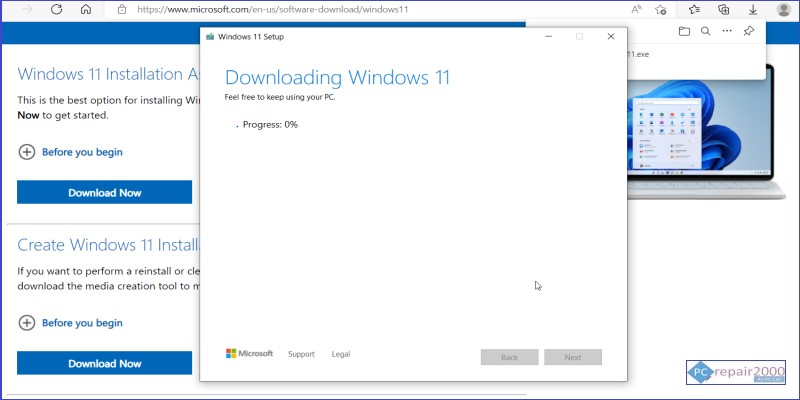
6. The download process will start and this will usually takes between 15-45 minutes depending on your USB drive speed and internet connection.
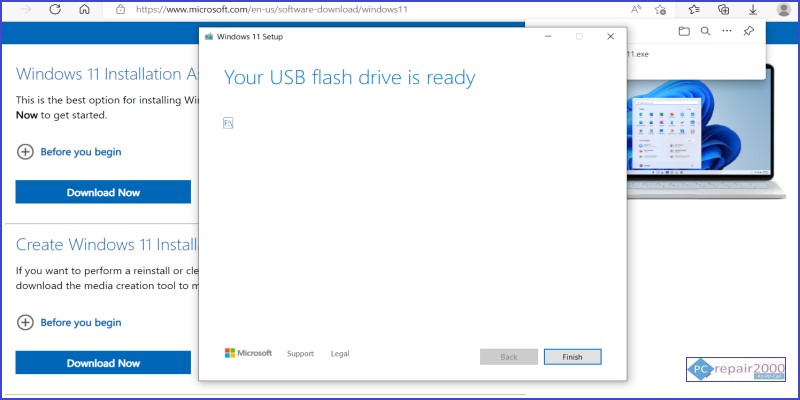
7. After successfully downloading all windows 11 files into your USB drive a confirmation message should displayed confirming that your USB drive is ready to use, click finish to complete the process. You should have a bootable usb Windows 11 installation media.
Method 2:
Rufus Method – Unsupported/Supported Hardware
The alternative method for creating installation media for Windows 11 is by using the Rufus Utility. The main reason for using this method is that in this case, you have more control about the parameters of your bootable USB media. For example, you can choose to make a bootable media that support UEFI bios or even a legacy bios support. This is ideal if you have an older type computer and you wish to bypass the requirements for install Windows 11. Furthermore, you can now produce a Windows 11 bootable media for unsupported hardware with the correct option. Please note that using the Rufus method may require you to disable secure boot in the computer bios to enable the installation to proceed. However, from version 3.17 you will no longer need to disable secure boot option during the installation of Windows 11.
STEPS:
1- Download the Windows 11 installation media using the Microsoft Tool method described above and select ISO file in step 4 and complete all the steps described in method 1.
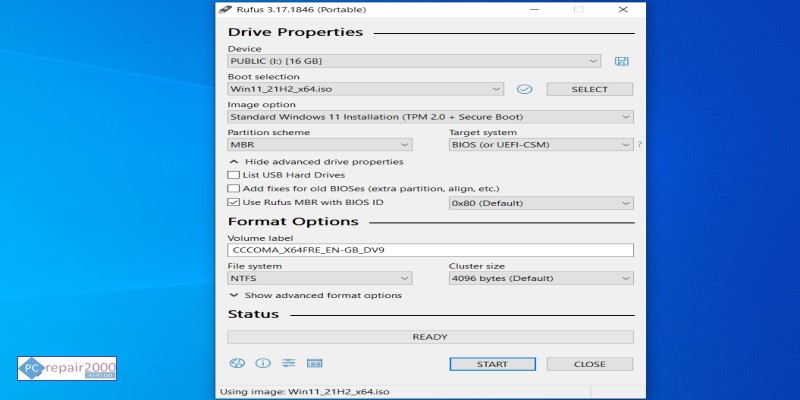
2- Download Rufus Utility and start the application. For UEFI bootable media use the parameters shown in the image below, click start and wait for the green ready message at the end.
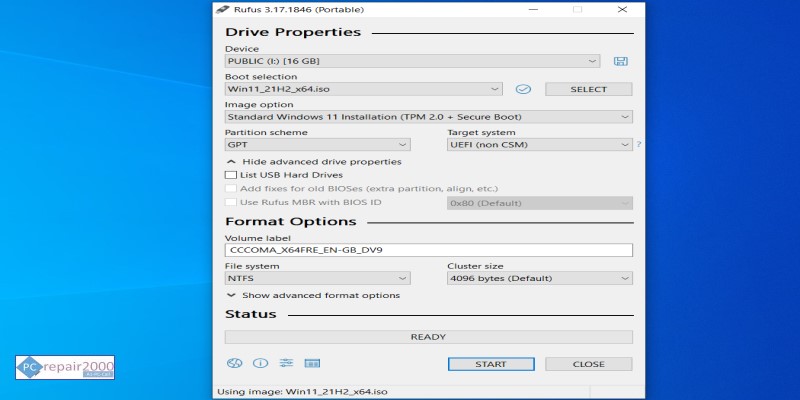
3- For MBR legacy bootable media use the parameters as shown in the image below, click start and wait for the green ready message at the end.
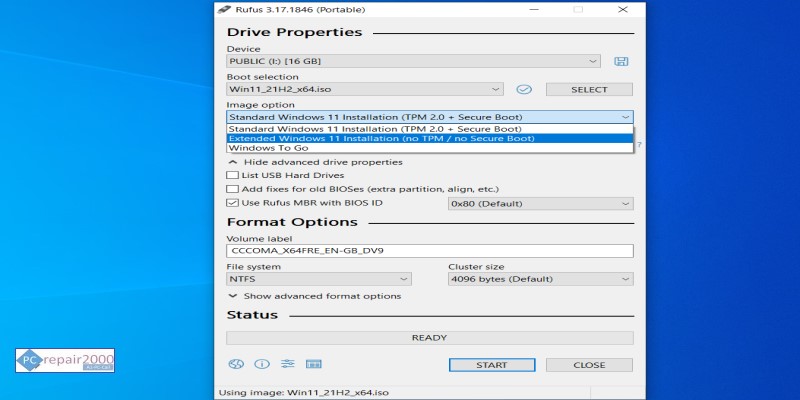
4. For unsupported hardware, to create installation media for Windows 11 use the image option drop down and select no TPM and no Secure Boot. At the end of this process you should have created a ready made Windows 11 bootable USB drive installation media.
Method 3:
Install.esd for Unsupported Hardware
This is another method used to create a bootable USB Windows 11 installation media. This method can be used to clean install Windows 11 on unsupported hardware. Also, it can be used to upgrade Windows 10 to Windows 11 on older PCs with unsupported hardware.
STEPS:
1. Download official Media Creation Tool for Windows 10 from Microsoft website, full step by step instructions are give in our tutorial How to create Windows 11 Installation media.
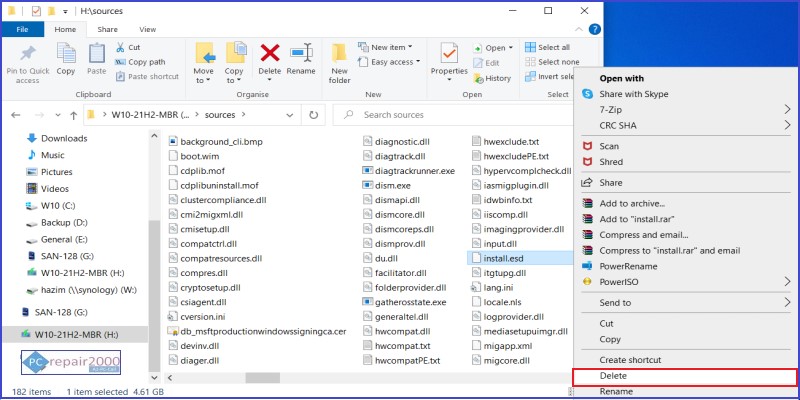
2. Browse the bootable USB drive which has just been created and navigate to the sources folder and delete the install.esd file.
3. Download official Windows 11 ISO file from from Microsoft website. Select Download Windows 11 Disk Image ISO.
4. Mount Windows 11 ISO file using windows explorer so you can browse the contents.
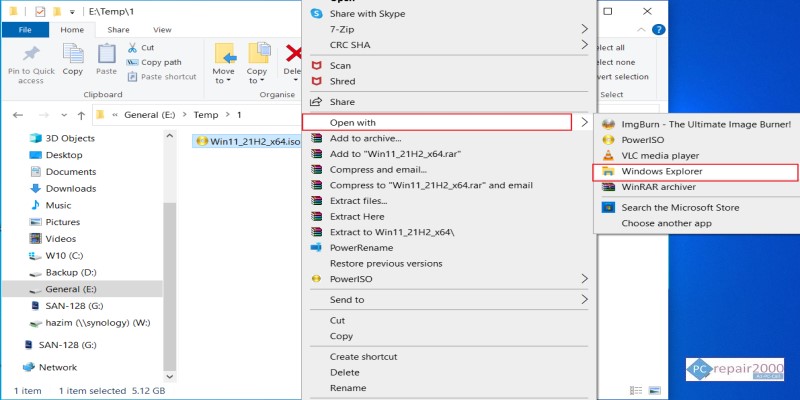
5. Navigate to the sources folder and copy the file install.esd.
5. Paste the file install.esd from Windows 11 into the USB drive sources folder of Windows 10 from step 2.
After completing the above process you will end up with a bootable USB for Windows 11 installation media drive that uses the Windows 10 interface. For this reason it will not check for and bypass the hardware requirements.
Summary:
To create installation for Windows 11 it requires careful preparation of USB bootable medias. This is especially true if you have unsupported hardware and you need to bypass installation restrictions. For older computers without TPM and without secure boot and with unsupported hardware, it is possible to modify installation medias to allow installing Windows 11.
In this blog, we have offered you the options and and step by step instruction for preparing installation media for creating bootable USB Windows 11 installation media. This Windows 11 bootable USB media will be used to fresh install Windows 11 or even upgrade from Windows 10.
The preparation process varies depending on the type of hardware available and whether it meets the minimum requirements at set out by Microsoft. Luckily there are different methods available to allow bypassing the restrictions and allow installation of Windows 11 on computers or laptops without TPM, without UEFI, without secure boot and without CPU limit.